Казахстан, Семей

СДЕЛАЙТЕ СВОИ УРОКИ ЕЩЁ ЭФФЕКТИВНЕЕ, А ЖИЗНЬ СВОБОДНЕЕ
Благодаря готовым учебным материалам для работы в классе и дистанционно
Скидки до 50 % на комплекты
только до
Готовые ключевые этапы урока всегда будут у вас под рукой
Организационный момент
Проверка знаний
Объяснение материала
Закрепление изученного
Итоги урока
Была в сети 25.05.2021 14:07

Құсайынқызы Гүлмира Құсайынқызы
Преподаватель специальных дисциплин
 10 225
 5 111

Местоположение
Специализация
Create illustrations. Vector graphics editors
Категория:
Информатика
16.07.2017 11:53

Просмотр содержимого документа
«Create illustrations. Vector graphics editors»
№11. Plan of the lesson
Subject: Information technology
The theme of the course №9.3. Create illustrations. Vector graphics editors
The theme of the lesson №11. Create illustrations. Vector graphics editors
Type of the lesson: lecture, combined
| Request for the student’s preparation | |
| Basic competence | Introduce students to: - how vector graphics technology works, and contrasts with raster graphics. - how smooth scaling occurs. - the role that functions play in vector graphics. - how modern mapping software is implemented as vector graphics. |
| Professional competence | Students will - describe the difference between vector and raster graphics - create a vector image by hand and write the related functions. - draw an personal logo - using a set of functions. - explain how mapping software is more flexible with vector graphics. |
| Objectives | educational | Introduce students to the difference between bitmap and vector graphics. |
| cultural | In the study of this subject, students should learn to respect the principles inherent to the financiers, such as organization, individuality, integrity and others. | |
| Practical-developing | The development of intellectual thinking, the ability to analyze, to listen carefully and to work independently. |
| Use | Economical information |
| Is used | Information technology |
Equipments
| Visual aids | Lecture, materials of the lesson |
| Technical aids |
|
| Literatures | «30 уроков по информатике» Балафанов Е.К., Бурибеков Б., Даулеткулов |
| Extra | «Операционная система Windows98» Балафанов Е.К., Бурибеков Б., Даулеткулов Г.А Джапарова «Основы информатики» |
Procedure of the lesson
| № | Elements of the lesson, procedures, methods of teaching | Notes |
| 1. | Organization moment: Good morning, students. Sit down, please. - Who is on dutytoday? - I am on duty today. - What date is it today? - Today is the ________of ____________ – What day is it today? - Today is Friday – Who is absenttoday? - all are present - ___________ is (are) absent today. - Is ______ ill? - Yes, he is/ Not, he is not/ I don’t know. - What season is it now? - Spring - How do you do? I hope that you are fine! - Are you ready for this lesson? That’s great! |
|
| 2. | Checking home task
|
|
| 3. | Presentation stage: Presenting the theme of the lesson: The theme of the course №9.3. Create illustrations. Vector graphics editors The theme of the lesson №11. Create illustrations. Vector graphics editors |
|
| 4. | Practice stage:
Activity 1. |
|
| 5. | Performance stage |
|
| 7. | Conclusion: 1. Go over handout, review material, and emphasize contact info & further resources on handout. Any questions? Final comments? Remind to take survey. a) Giving home-task: Lecture Ермеков Н. стр. стр.230-231 Today I want to say that such students as_________work very well |
|
Teacher G.Mukushova
The theme of the course №9.3. Create illustrations. Vector graphics editors
The theme of the lesson №11. Create illustrations. Vector graphics editors
Glossary
| № | Ағылшын тілінде | Қазақ тілінде | Орыс тілінде | Транскрипция |
| | Component | компонент | компонент | |kəmˈpəʊnənt| |
| | customize | Өзгерту, қайта жасау | переделывать | |ˈkʌstəmʌɪz| |
| | Property | қасиет | свойство | |ˈprɒpəti| |
| | Property Bar | Қасиеттер панелі | Панель свойств |
|
| | enable | Рұқсат беру | разрешать, давать возможность | |ɪˈneɪb(ə)l| |
| | Main Tool Box | Негізгі құралдар панелі | Главный панель инструментов |
|
| | Ruler | сызғыш | линейка | |ˈruːlə| |
| | Color Palette | Түстер палитрасы | цветовая палитра |
|
| | relocate | Орнын ауыстыру | перемещать | |riːlə(ʊ)ˈkeɪt| |
| | preset | Алдын ала орналастыру | устанавливать заранее | |priːˈsɛt| |
| | Page Navigator | Беттер навигаторы | Навигатор страниц | |ˈnavɪɡeɪtə| |
| | Docker | Қозғалатын және бекіілген | перемещаемое и фиксируемое | |ˈdɒkə| |

| Window Components | |
| A - Standard Toolbar | You can customize this or any other Toolbar or create additional Toolbars. |
| B - Property Bar | The Property Bar is dynamic. Property options change depending on what you are working on. This enables you to access commands that are specific to the current tool or feature you are using. |
| C - Main Tool Box | The main tools you will use are accessed from this bar. |
| D - Rulers | The Rulers show the current mouse cursor location as you move in the work area. |
| E - Color Palette | The Color Palette by default is located to the right of the work window. Like the Toolbars, it can also be relocated. You can choose from a preset palette of colors, or use a specific color system such as Pantone Spot Colors. |
| F - Status Bar | The Status Bar is used to give you information about cursor movements or symbol properties such as the fill or size. |
| G - Page Navigator | The Page Selector is used to add and move between pages. When a file contains multiple pages, individual page tabs appear to the right of the Page Selector bar. |
| H - Docker Tabs | Dockers allow access to effects, styles, colors, and many other features of CorelDRAW. They can be floated or “docked” at the side of the window. When closed, they are accessible through a vertical tab. |
Corel Draw Practice Exercises
Exercise 1
Tips
To draw the rounded rectangle, draw a regular rectangle using the rectangle tool and then increase the rectangle corner roundness to 40 (found on the property toolbar)
To add colour to the shapes, select the desired shape and click on the desired colour
Exercise 2 Exercise 3


Tips
To create a triangle;
Draw a rectangle
Select Arrange, Convert to Curves from the Menu toolbar
Using the Shape tool, click the top left hand corner and then hit the Delete key on your keyboard
To rotate an object;
While clicked on the triangle, select Arrange/Transformations/Rotate from the Menu toolbar
Increase the angle degree to 90 and click Apply to Duplicate.
Repeat step 2 twice more
Tips
To draw a perfect square hold down the Ctrl button while using the Rectangle tool and to draw a perfect circle hold down the Ctrl key while using the Ellipse tool
To duplicate an object, select the object you wish to duplicate and then hold down the Ctrl and D key at the same time
Grouping Objects – using the Pick tool, highlight all the objects you wish to group and then select Arrange/Group from the Menu toolbar
Вебинар для учителей
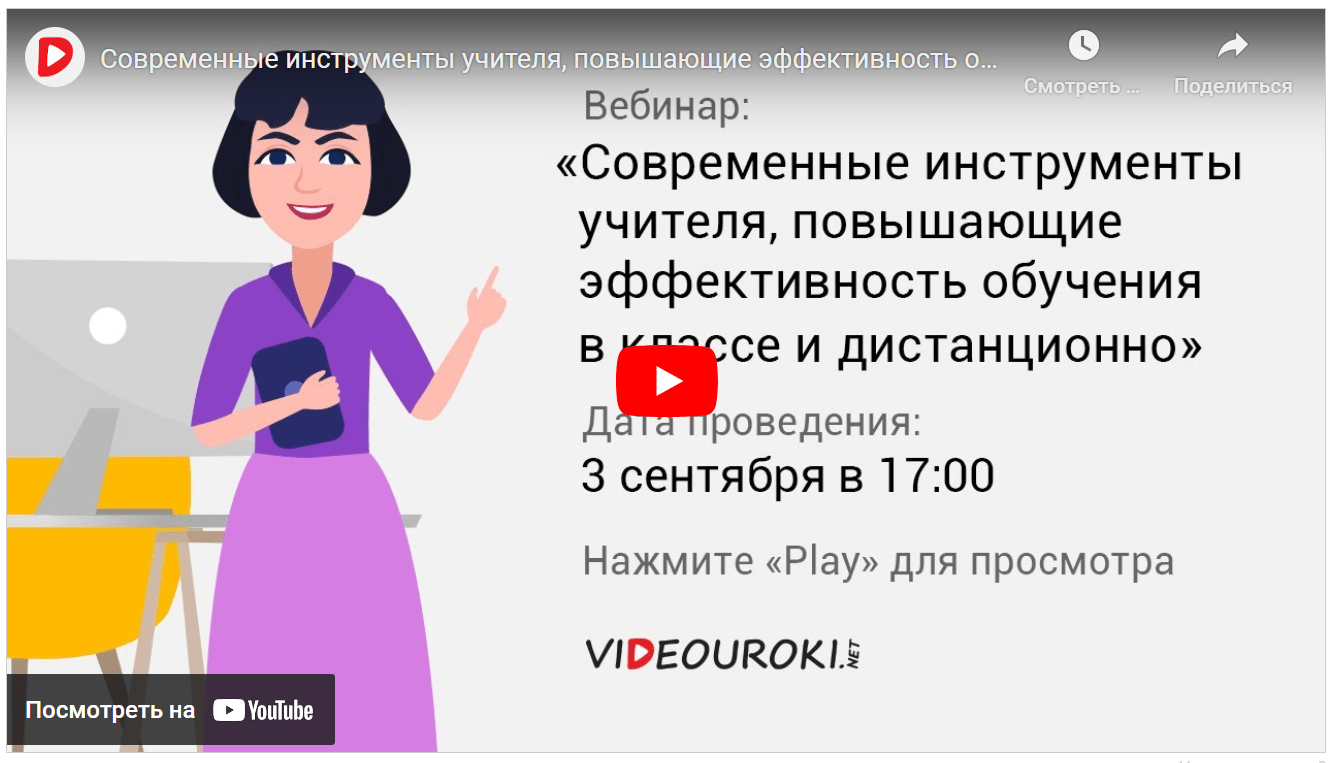
🎓 Свидетельство об участии ✨БЕСПЛАТНО!✨